
Classes
| Class Overview | Schedule/Objectives | Project Gallery | Class Resources |
IDP250J - Applied Design and Prototyping
IDP250 Project ideas
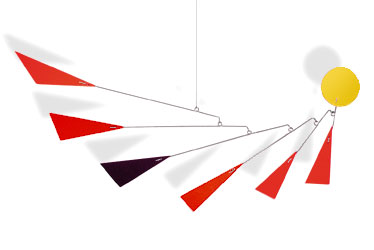
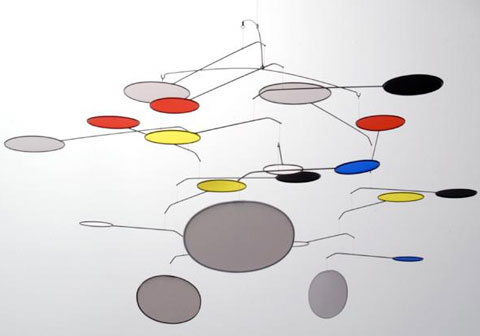
Mobiles
Making something like these will reguire finding the weight and centroid of each object. Then a little math to calculate where to drill the holes. The first one is the easiest - reccomended :-)
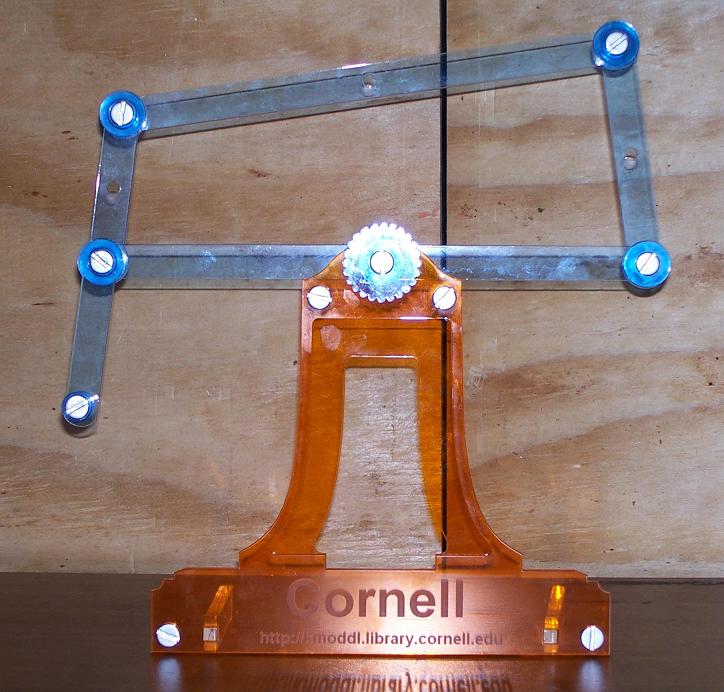
Four Bar Linkage
There are many variations of this linkage that can be produced. See this web page to iterativly try different link lengths.
Pencil Holder - This can be made from acrylic. The challenge is drilling the holes and assembling it properly, and neatly!
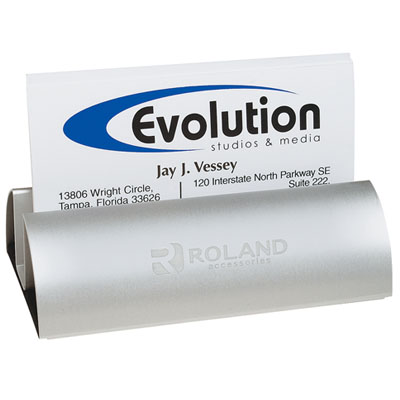
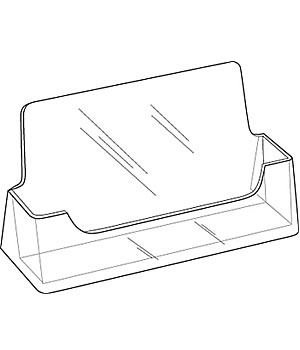
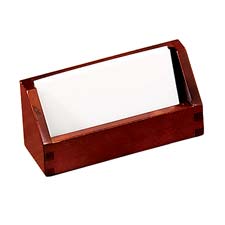
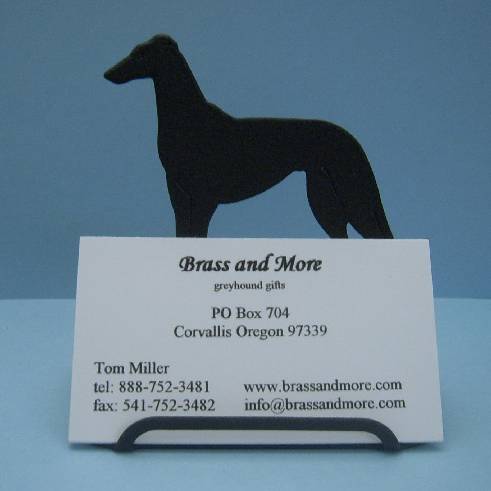
Business card holder (this might be fun if you have extra time) These can be made using just about any method or material. Cards measure 3.5" x 2"
example1 example2 example3 example4 example5
Notes about laser cutting and 3d printing
Laser can cut on a 12x24 surface, thin wood, paper card stock, acrylic can be used. Acrylic up to .375 thick. wood/paper up to .062
3d printer has 8x8 inch work volume, and is slow to run. Keep parts small as possible.
Process Plan
Process plans are critical for doing well in the design world! No matter how good your design is, unplanned manufacturing will result in a poor final product.
Process plans allow you to make the most of your time in the shop. They also help you to structure your thoughts by forcing you to think about how your are going to build your parts and machine before you enter the shop.
Process Plan Table
You should make a table with the following columns. Make a row for each major step in making a part.
| Step | Tools Needed | Materials Needed | Description |
1 |
. | . | . |
2 |
. | . | . |
3 |
. | . | . |
- Tools Needed:
- This is a list of all the tools needed to do the current step. Include sizes as appropriate (drill, tap, die, etc.)
- Materials Needed:
- This is a list of all the materials needed to complete the step. Include McMaster Carr part numbers here, if relevant.
- Description:
- A brief outline of what you have to do to complete the current step.
Bill Of Materials
Create a list of all the bits and pieces of your project. If for example you are cutting four rings from a piece of 1/4" acrylic, figure out the minumum size piece of material you'll need to start with. Any fasteners, glue, paint should be listed.
We will use this list to determine what parts, if any, we need to order to complete the project.
Clark Science Center > Contact Webmaster < Smith College 2006